
1. You reach out
Use the Text us button on any page. Tell us where the RV is (campground and site number, storage lot and space, or highway and mile marker), what kind of RV it is, and what is going on. "Nothing works inside but the engine starts" tells us something very different from "it clicks when I turn the key."
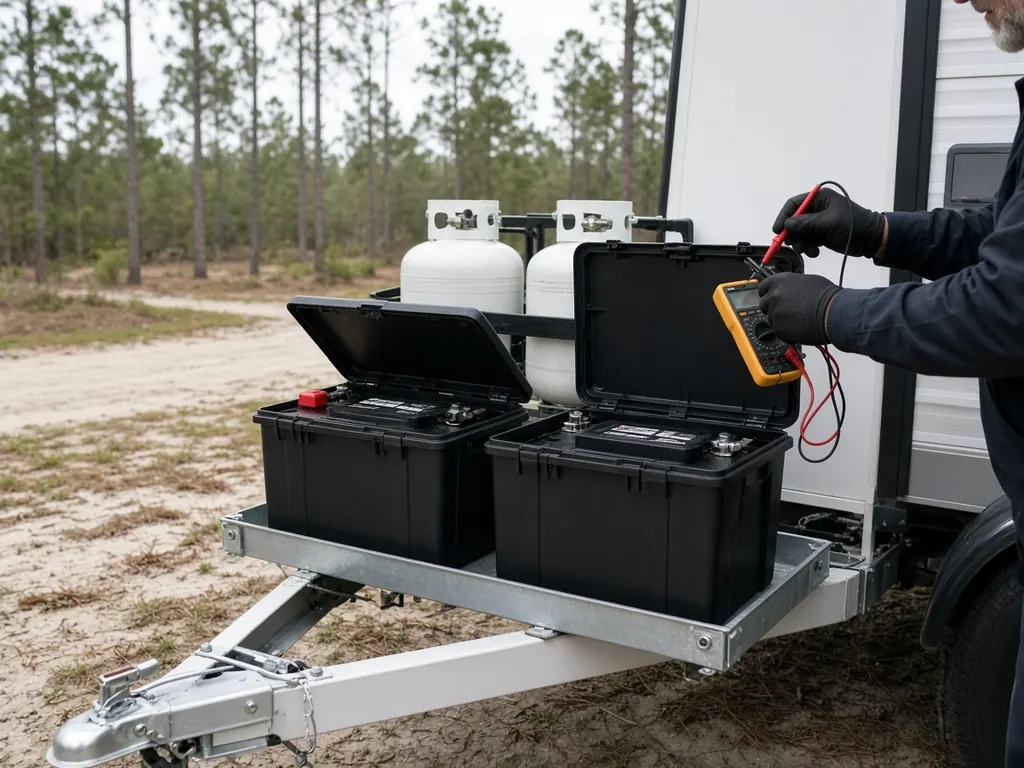
A photo helps a lot. One picture of the battery compartment, with the battery labels showing if you can, often tells us the battery type, size and how they are wired.
2. We quote before we drive
Based on what you tell us, we quote the likely job: testing, replacement, or an upgrade. If we can't tell yet what the problem is, we say so, and quote the visit and testing first. Nothing gets installed without your OK.
3. Testing comes first
We test each battery, and we test the charging. On the house side that means the converter or inverter-charger, any solar charge controller, and the battery disconnect. On a motorhome we check the alternator and the battery isolator or boost solenoid too. Plenty of "dead batteries" are a blown fuse, a corroded ground or a switch someone bumped.
4. Replacement or upgrade
If batteries need replacing, we pull the old ones, clean the cables and terminals, check the tray and hold-downs, and install the new batteries wired the same way as the system was designed (or better, if what was there was wrong). For lithium upgrades, we check charger profiles and settings first, and tell you if anything else has to change.
5. We confirm it charges
Before we leave, we confirm the batteries are taking a charge from shore power, the generator, solar or the alternator, whatever applies to your setup. We show you what we did.
6. Old batteries get recycled
Lead-acid batteries are among the most recycled products in the country, and we take yours with us for recycling. Lithium batteries we remove go to a proper battery recycler, never the trash.
Paying
Payment happens when the work is done. We'll go over payment options when we quote the job.